Yay, yay, yayyyy! Doesn’t it feel good to accomplish a goal you set before time ran out?! My ultimate goal for this year is to make soap and that I just did a few days before the turn of a new year!!!
Becoming more aware of the unnecessary and negative effects of the chemicals we allow our bodies to be exposed to, I’ve become more conscious not only in what I consume but also on what I apply externally on my skin. I just read somewhere that our skin absorbs approximately 60% of what we put on it! That is amazing!
So, I did quite a few researches here and there and read many of the ingredients that, generally, mass-produced soaps contain.
Initially, I wanted to make soap without lye after reading the toxicity of it. But then, after reading more about soap-making, I learned that no one will be able to make a good, hard soap without lye! Then, I remembered back in chemistry class: we used lye many times being known chemically as NaOH! Then, after chemical reactions the soap should just be ok…
Soap-making had me excited for a long time but never got around to making one BUT I did not want to break the promise I made to myself and so, I vowed to accomplish this goal before the year ended!
Initially, I wanted to make soap from scratch! Hahaha, down to making my own lye water! I lived in an apartment which had a wood stove. I could have used the wood ash to make lye but then I moved before I was able to do that. But then I thought I shouldn’t be too hard on myself considering I’ve never made soap before. I decided to start easy and experiment from there.
And so I learned that there are 3 ways to make soap: cold process, hot process, and melt-and-pour (which would include the rebatching method, I’d say). The easiest out of these 3 is the melt-and-pour method which I opted for.
I bought 12 pounds of soap bases and many other goodies from Bulkapothecary online. Waiting for the package to arrive made me very excited!
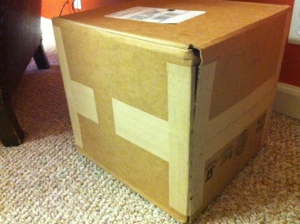
But…my excitement left me for a bit…even when I finally received it… and it took four months for the excitement to come back and before I finally opened it!
I thought I’d receive an enormous block of hard soap that I would have to chisel off from little by little but they conveniently arrived in one-pound blocks!

Then…off I went! The good thing about the melt-and-pour method is that if you don’t like how the soap turned out, you could re-melt it again and do it over.
So, here’s my very first soap!!!

Well, let me back track. The supplies that are must-haves that I used were: a spatula, a little mixer (i found a cappuccino mixer at a Daiso store which only cost $1.50), digital scale, cutting board, a cheese cutter, essential oils (I had tea tree oil-my favorite, lemon-eucalyptus, jasmine), a pot, and a stove– although I could have really just used a microwave =\…
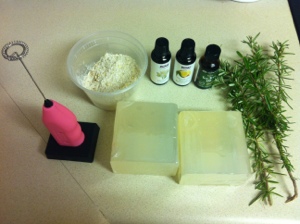
Oooooohhh!! And don’t forget– a very, very important must-have: a container! Based on my researches, you don’t really need a fancy mold. You can be very creative! I used tofu containers that I’ve saved and it really molds really nicely and reusable!

Look how the tofu container nicely molded the edges of this bar.

So, here’s the rest of my first batch of soap!
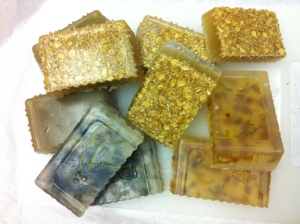

I got a little bit too excited with this first experiment that I didn’t even follow any recipe and was just adding things here and there, hahaha! But I thought they came out good they look like they can be eaten especially the ones with oatmeal.
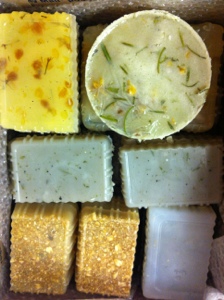
Here’s a jasmine bar with jasmine flowers.

Then, I made more the next day then placed them in a box so they could be safe on the flight back home today✈😄.
Mission accomplished! Happy new year to all! 🎉🎆God IS good! 😊👍
